Maximizing Your Efficiency in Sublime Text - View Menu

There are a couple features inside the “View” menu that will really help you maximize your efficiency in Sublime Text. This article goes through several of those options and where it’s helpful.
Hide/Show Menu Items
The first section of stuff to talk about are the menu items that show or hide items of the user interface.
We want to disabled most of the options to give us most working space possible because this will allow us to see as much code as possible.
Side Bar Options
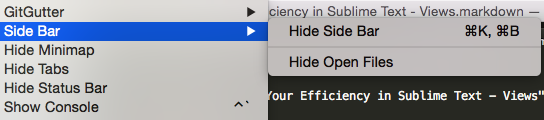
The sidebar is the section on right hand side of the screen that shows the list of files in your project. While it’s nice to have a list of these normally, it can be annoying to have it open. To really give yourself as much screen real estate as possible, it’s nice to hide this when it’s not being used. To do this you can go to the “View” menu then “Side Bar” and “Hide Side Bar”. During the work day you may find it annoying to do this over and over as you use the sidebar so you can use the keyboard shortcut ctrl+k, ctrl+b in Windows or command+k, command+b to toggle the sidebar. I’m willing to bet it’s one of my most used keyboard shortcuts.
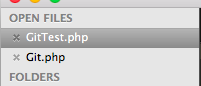
The other option that can be helpful is the “Show Open Files” option inside the “Side Bar” submenu. This adds a list of open files to the side bar so you can easily see and jump to the open files.
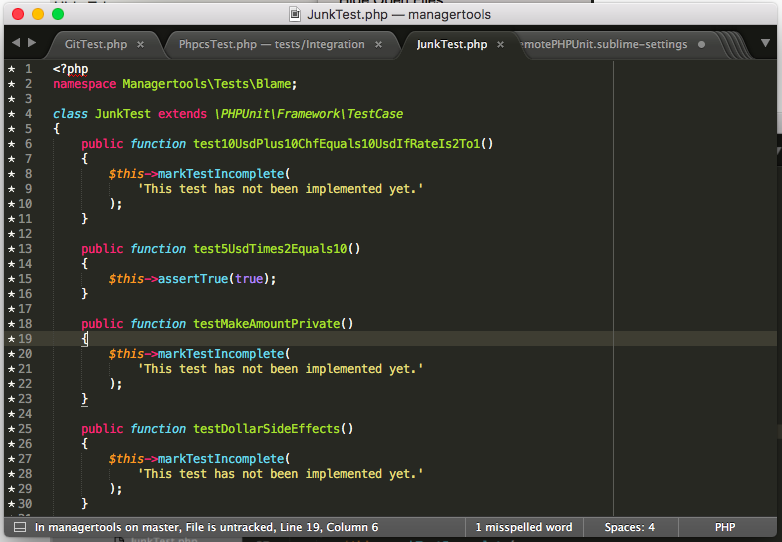
Hide Minimap
I’m not a fan of the Minimap (section on right side of screen) because I find it to be a distraction, it’s hard to use to navigate, and it eats up space. So I normally have turn this turned off. Selecting “View” menu’s “Hide Minimap” option will turn this off. I haven’t run into a case where it gets turned back on automatically so I’m glad there isn’t a hotkey for this.
Show Console
The console is another feature you should hide unless you need to use. The console shows up in bottom of the screen and is useful for debugging problems with plug-ins and seeing what’s going on in the background. This can be turned off my selecting the “Hide Console” option of the “View” menu.
Full Screen Modes
Sublime Text offers two full screen modes. Full Screen Mode just makes the current interface full screen (hides menu bar on OSX and makes it big on Windows). The Distraction Free Mode goes into full screen mode and only shows the currently active file and sets the word wrap to 80 characters. Distraction Free Mode is good if you really want to focus on a single file at a time. I use it to write these blog posts.
Layouts and Groups
Layouts and Groups are helpful when you’re working on more than one file at a time (and when are you not).
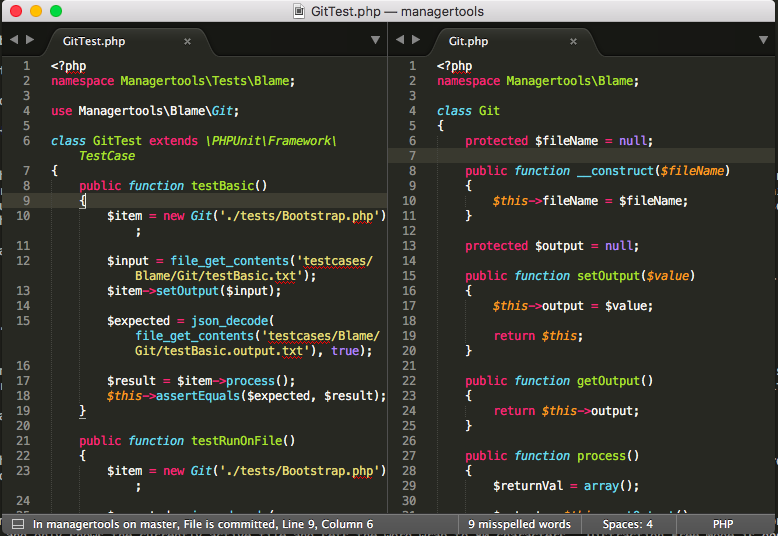
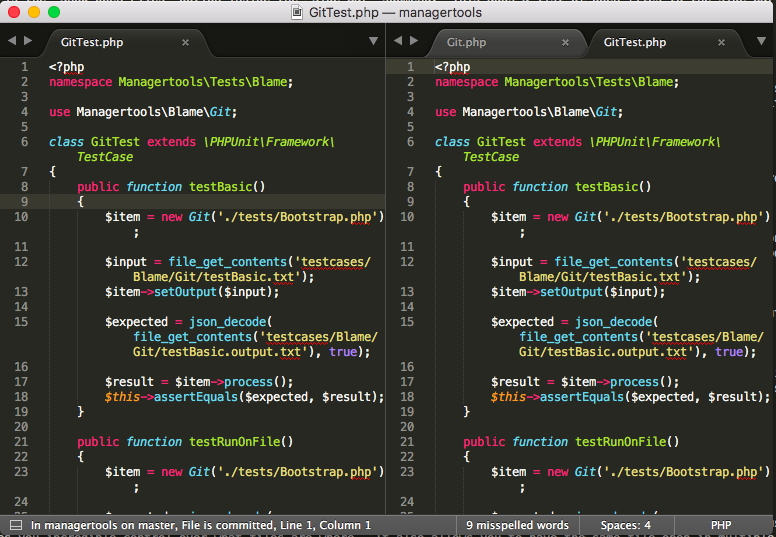
Splitting Up Your Screen Into Multiple Groups
Sublime Text allows you to break the screen into multiple columns, multiple row, or a grid. I’ve found the multiple columns are good for monitors in a horizontal orientation and multiple rows are good for monitors in a vertical orientation. I’ve never been able to figure out a good use for the grid layout because each individual file is too small for me to work with but maybe my screens aren’t big enough. :-)
Column View (alt + ctrl + 2, 3 or 4 for Windows and option + command + 2, 3 or 4 for OSX)
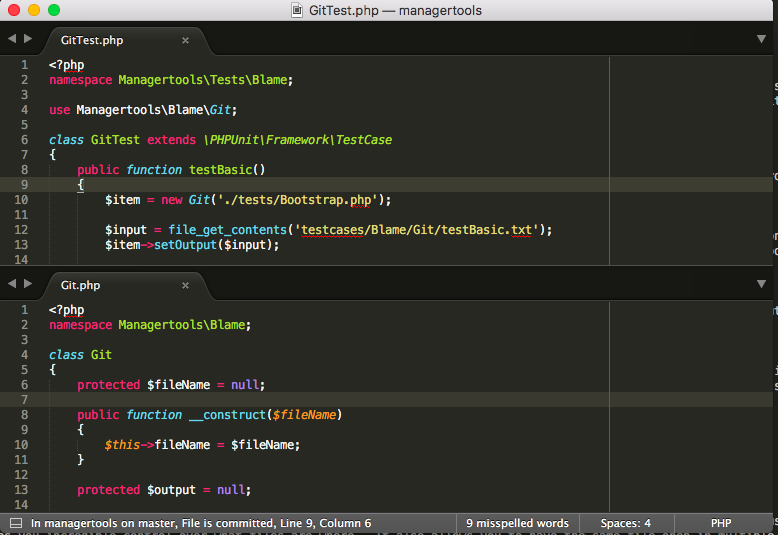
Row View (alt + ctrl + shift + 2, or 3 for Windows and option + command + shift + 2, or 3 for OSX)
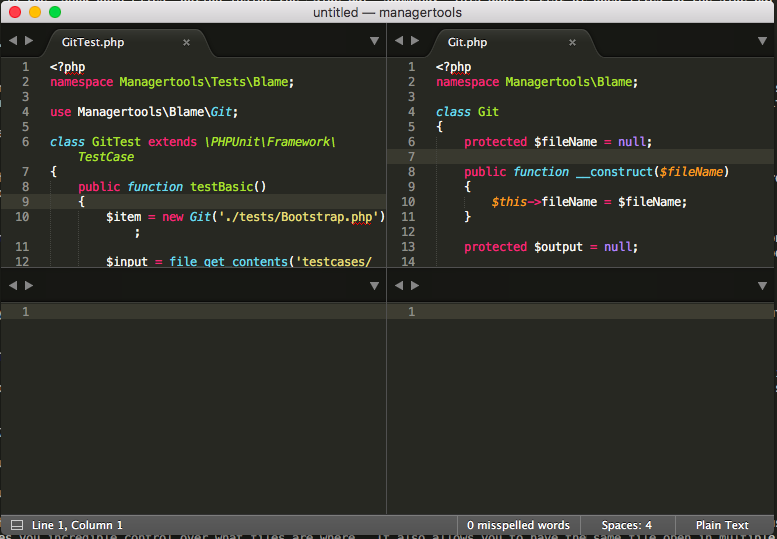
Grid View (alt + ctrl + 5 for Windows and option + command + 5 for OSX)
The powerful thing about groups is that they act like their own little sublime editor. You can still use all of the keyboard shortcuts we’ve discussed and they’ll operate inside that group. It also allows you to have the same file open in multiple locations. So if you’re editing two (or three) functions in the same file you can have each group open to that function and can easily switch between then.
Working With Groups
Now that we have our screen split into multiple groups what can we do with it?
Moving Files Between Groups
The easiest way to move files between groups is to click on the file’s tab and drag it into the group you want the file to be in. You can also use command+P/ctrl+P to open the file in the second group which is usually how I open files in a specific group. After that it gets more complicated.
My favorite keyboard shortcut for moving files is command+k, command+up for OSX, and ctrl+k, ctrl+up for Windows, which creates a new group and moves the current file into it. This is helpful if you realize part way through editing a file you need it in a new group.
Slightly less helpful are the Move File to Next and Move File to Previous. These move the the file to an already existing group but I haven’t been able to get these into my workflow because they require the group already be open.
Switching Between Groups
Again, the goal is to use your mouse as little as possible so we can click on the various groups to switch between them but what we really want is a keyboard shortcut so we can swap between them quickly. The shortcut for this is control+
Conclusion
That is a quick overview of the options that should improve your efficiency.

Scott Keck-Warren
Scott is the Director of Technology at WeCare Connect where he strives to provide solutions for his customers needs. He's the father of two and can be found most weekends working on projects around the house with his loving partner.
Top Posts
- Working With Soft Deletes in Laravel (By Example)
- Fixing CMake was unable to find a build program corresponding to "Unix Makefiles"
- Upgrading to Laravel 8.x
- Get The Count of the Number of Users in an AD Group
- Multiple Vagrant VMs in One Vagrantfile
- Fixing the "this is larger than GitHub's recommended maximum file size of 50.00 MB" error
- Changing the Directory Vagrant Stores the VMs In
- Accepting Android SDK Licenses From The OSX Command Line
- Fixing the 'Target class [config] does not exist' Error
- Using Rectangle to Manage MacOS Windows